The drive from Seattle to Whistler takes about three and a half hours. It’s a clean run north through some of the best scenery in the Pacific Northwest. You’ll cross into Canada, pass through Vancouver, and climb into the mountains. It’s one of those drives that doesn’t feel like work.
The Route and Basic Facts
The most direct path is simple and well-signed. Head north from Seattle on Interstate 5 for about 140 miles. This gets you to the Washington-Canada border near Blaine. From there, the route becomes Highway 99 through British Columbia. You’ll drive through Vancouver’s outskirts, then follow signs for Whistler. The final stretch climbs the Sea-to-Sky Highway, a winding but gorgeous approach to the resort.
Total distance is roughly 210 miles from downtown Seattle. The time varies based on border crossing and traffic around Vancouver. On a clear weekday, three and a half hours is realistic. Weekends often add an hour or more. Border waits can stretch past thirty minutes during peak travel times. Summer Saturdays? Plan for five hours door to door.
What changes the equation is Vancouver traffic. The city sprawls. You’ll spend at least forty minutes navigating the streets before heading north again. There’s no real way around it. Taking back roads saves nothing because they’re congested too. The I-5 corridor and Highway 99 are your only viable options.
Weather shifts as you climb toward Whistler. The valley floor near Vancouver might be mild and clear. The mountains often have rain and clouds even when Seattle is sunny. Winter driving requires chains or snow tires on that final stretch. The road is well-maintained. It’s just steep and twisting in spots.
What You Need to Cross the Border
Bring a valid passport. That’s non-negotiable. Americans crossing into Canada must present either a passport or a passport card. A driver’s license alone isn’t enough. If you’re bringing anyone under eighteen, they need their own passport too. Bringing someone else’s child requires a letter of parental consent. It’s a hassle most people skip, so travel solo or with your own kids.
Have your vehicle registration and proof of insurance ready. Keep both documents easily accessible. Border officers will ask to see them. If your car is registered to someone else, bring a letter from that person. You won’t need it most trips. The one time you need it and don’t have it ruins the whole day.
Work permits and visas are different. If you’re not a US citizen, check the Canadian government website before you go. Rules change. It’s not something to guess about. Canadian border staff are friendly and efficient. They’re also strict about documentation.
Don’t bring certain items into Canada. Firearms, even legal ones at home, require special permits. Fresh produce and meats are prohibited. Most people don’t realize this. You can’t bring fruits, vegetables, or raw meat from the US. Baked goods and shelf-stable items are fine. If you’re unsure, declare it. Officers would rather know upfront.
Planning Your Timing
Early morning departures save hours. Leave before 7am and you’ll hit the border during a calm period. You’ll clear Vancouver before traffic gets heavy. Arriving at Whistler by early afternoon gives you time to settle in. Late morning departures mean sitting in traffic around Vancouver. Afternoon drives turn into evening arrivals.
Winter timing needs adjustment. Darkness comes early in the mountains. You want to arrive before dusk. Icy roads are worse in poor light. Driving that Sea-to-Sky Highway at night in winter is asking for trouble. An earlier start isn’t optional. It’s essential.
Gas, Food, and Rest Stops
Fill up before the border. Gas is cheaper in Washington than British Columbia. You won’t save huge money, but every bit counts. The drive itself doesn’t require a full tank unless your car is inefficient. But you’ll want to arrive with fuel to spare.
Food options are scattered but present. Most travelers grab breakfast before leaving Seattle. There’s a McDonald’s at the Blaine border crossing, which is fine if you’re stuck waiting. Once you’re in BC, options pick up around Burnaby and Richmond. Stick to the main highways. Back roads have fewer places to stop.
You don’t need a rest day unless you’re older or uncomfortable driving. The route is simple and the scenery holds your attention. Three and a half hours is tiring but not exhausting. Take a bathroom break at the border if you need one. Otherwise, it’s one straight push.
Also read: Vancouver to Seattle drive distance time route
What to Expect at the Border
The US-Canada border at Blaine is the busiest land crossing on the west coast. It moves quickly most days. You’ll line up with other vehicles. An officer will approach and ask standard questions. Where are you going? How long are you staying? What are you bringing? Answer honestly and directly. These aren’t trick questions.
Peak times are summer weekends and holidays. The wait can hit an hour. Off-season weekdays see five to ten minute waits. Download the CBP Border Wait Times app before you leave. It shows real-time updates for Blaine. If you see a long wait, you have time to stop and grab food. The app is accurate.
Have your documents ready before the officer approaches. Don’t fumble through your glove box. Keep your passport on top. Windows should be down and the interior light on. Don’t be chatty or jokey. Border officers hear the same jokes daily. Polite and concise beats friendly.
Customs is less of an issue northbound than southbound. Going into Canada, they’re mainly checking what you’re bringing. Coming back to the US is more thorough. Plan for longer waits on the return trip.
The Climb to Whistler
The Sea-to-Sky Highway curves and climbs for the final 40 miles. This is where the drive gets interesting. You leave the Squamish valley and head into mountains. The road narrows. It winds. It demands attention. Speed limits drop. The scenery improves considerably.
This section is totally fine in good weather. Dry conditions mean nothing special. You can do the curves at near-posted speeds. Winter is different. Snow and ice appear without warning at higher elevations. Chains become mandatory. The highway authority closes it when conditions are unsafe. Check conditions before you leave Seattle.
Rock falls are rare but possible. The road cuts through cliff faces. Debris sometimes lands on the pavement. It’s not a serious hazard. Just stay alert. Falling rocks are not common. But they happen once in a while.
Wildlife appears mostly at dusk and dawn. You might see bears or elk. Don’t stop to photograph them. That’s how people get hurt. Keep driving. If you see an animal, slow down and pass safely. Hitting a moose kills both of you.
Lodging and Where to Stay
Whistler has hotels, lodges, and vacation rentals everywhere. Prices vary wildly. A basic room runs 100 to 150 dollars per night in shoulder seasons. Summer and winter ski season push prices to 200 to 400 dollars. Book early if you’re traveling peak times. Last-minute rooms are either gone or expensive.
Village hotels are walking distance to restaurants and shops. Mountain lodges put you close to skiing and hiking. Some visitors prefer staying outside the main village. These places are quieter. You’ll need a car. The trade-off between convenience and peace is real. Most people choose convenience.
Should You Make Stops?
Squamish sits about halfway between Vancouver and Whistler. The town has shops, restaurants, and a small tourist scene. The rock climbing here is legendary. If climbing interests you, stop for a few hours. Most road-trippers skip it. The drive is short enough that stopping adds time.
Shannon Falls is a quick roadside stop. A ten-minute walk gets you to a good waterfall view. It’s painless and worth five minutes. The parking area is right off the highway.
Also read: Drive from Seattle to Portland Oregon
Making the Drive Easier
Bring snacks and water. You’ll have nowhere to stop for long periods. Highway rest stops are basic. Pack what you like. Phones die on long drives. Bring a car charger. Bring two if multiple people are navigating.
Road conditions change fast once you leave the interstate. Check the BC Ministry of Transportation website before you go. It shows real-time road conditions and closures. The information is current and specific. Don’t rely on your phone’s weather app. That doesn’t show road hazards.
Your vehicle should be in good condition. Get an oil change before long drives. Check tire pressure. Make sure brakes feel solid. A minor car problem becomes a major headache on the highway. A half hour of maintenance saves a day of stress.
Why People Make This Drive
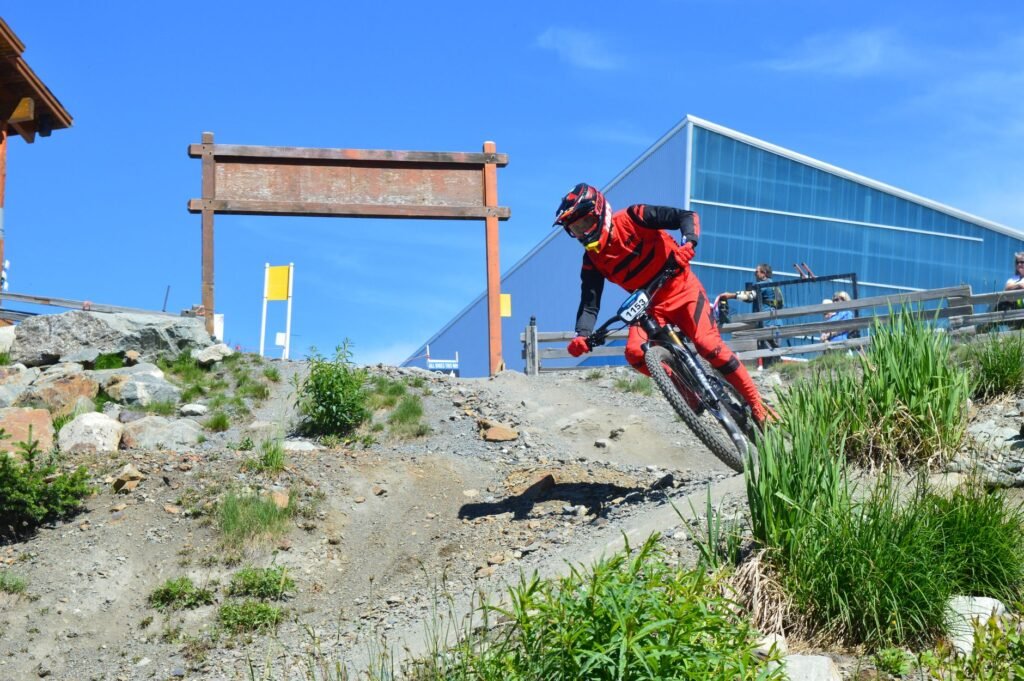
Whistler is worth the trip. The skiing is excellent in winter. Summer hiking and mountain biking attract people from around the world. The village itself is walkable and fun. Restaurants are strong. The scenery is striking. None of that requires driving from Seattle. But if you’re already here, Seattle to Whistler is the easiest mountain trip you can make.
The drive itself is pleasant. You’re not grinding through the Midwest or the Southwest. You get water views, mountains, and varied terrain. The time passes quickly. People often say the drive is half the vacation. That’s mostly true.
Final Thoughts
You’ll want a full tank and clear documentation. Leave early. Avoid weekend mornings. Check road conditions before you go. The rest handles itself. Seattle to Whistler is a straightforward road trip that rewards planning with smooth travel. People do it all the time. You’ll do it easily.
Reference: Whistler Blackcomb